Punchout Mappings
Setting different supplier punchout identifiers for different users.
Overview
For each supplier, procurement can set one or multiple punchout mappings i.e. punchout identifiers to be sent in the cXML, dependent on the user. These can be set differently based on specific users, user groups or locations, e.g. a punchout identifier of 12345 for Supplier 1 if the user is in region 1. Whether or not the part auxiliary ID is supplied in the cXML can also be configured.
View Punchout Mappings
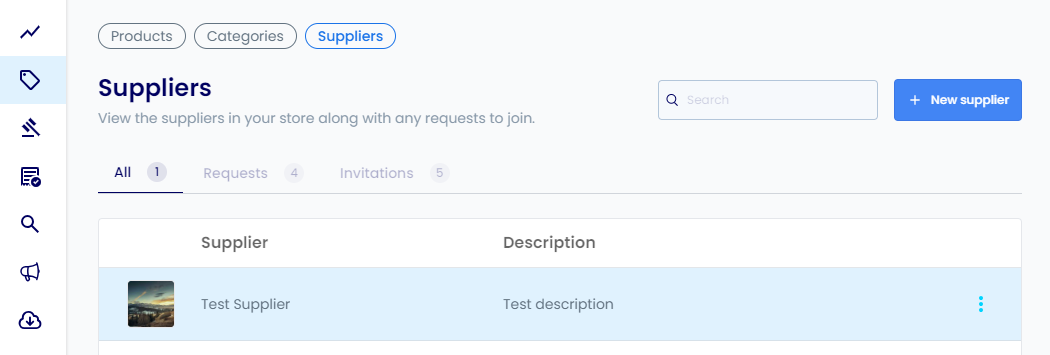
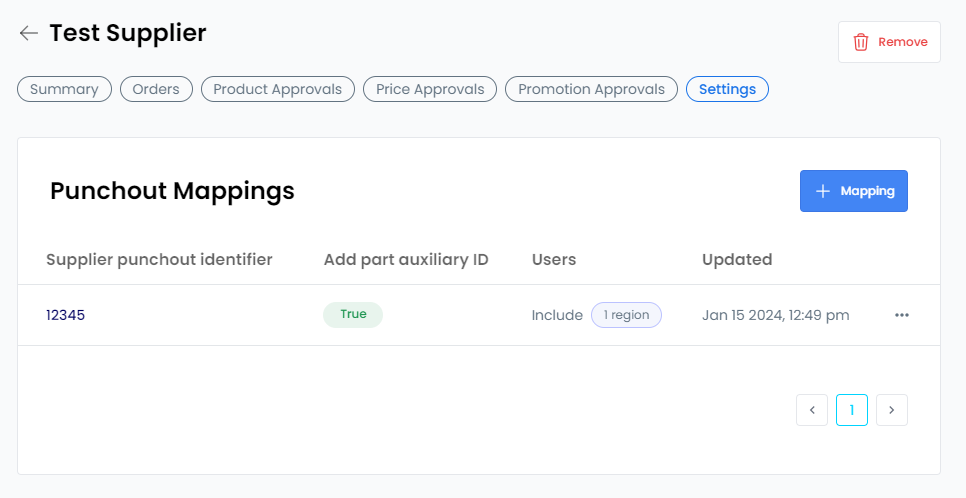
To access existing punchout mappings, navigate to the Suppliers page within the Products area of the platform. Then select the supplier you would like to view existing mappings for. Finally, navigate to the Settings page for that supplier to view the punchout mappings table.
Create a Punchout Mapping
Select
+ Mappingto begin creating a new punchout mapping.
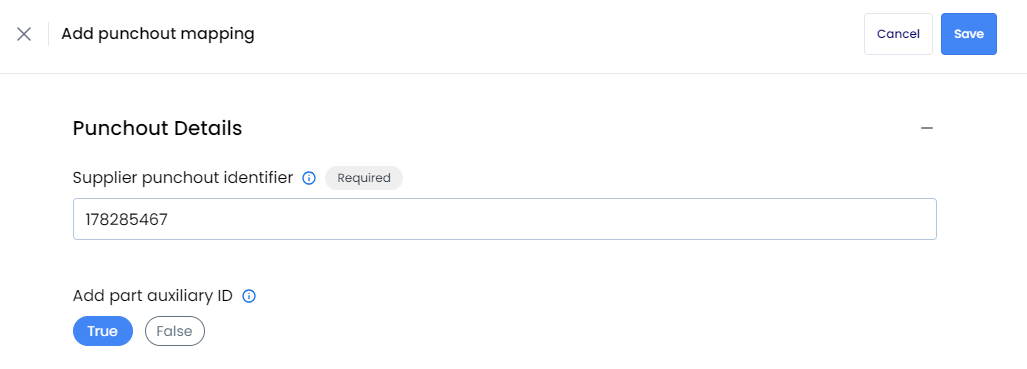
Enter the desired value for the supplier punchout identifier.
Choose whether to include or exclude the part auxiliary ID in the cXML.
Select which users to apply the rule to:
- All users
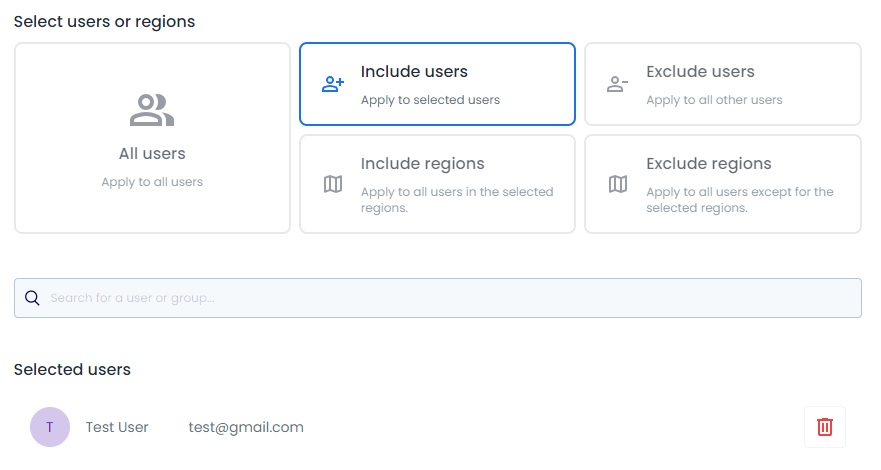
- Include specific users/groups
- Exclude specific users/groups
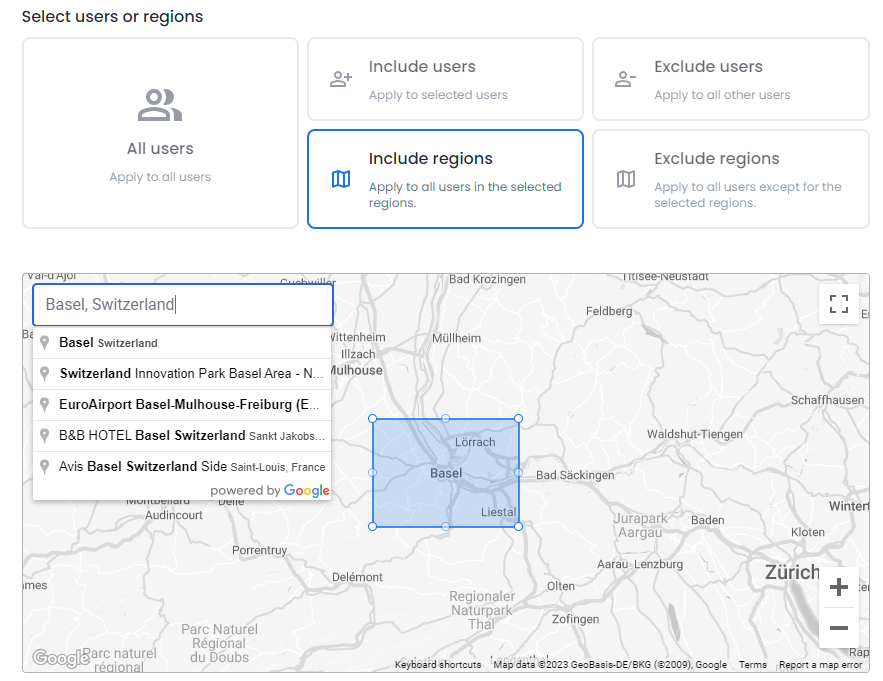
- Include users in specific regions
- Exclude users in specific regions
If including/excluding regions:
- Resize and move the rectangle on the map to select geographic regions
- Search for and select an address/location to center the map on an area
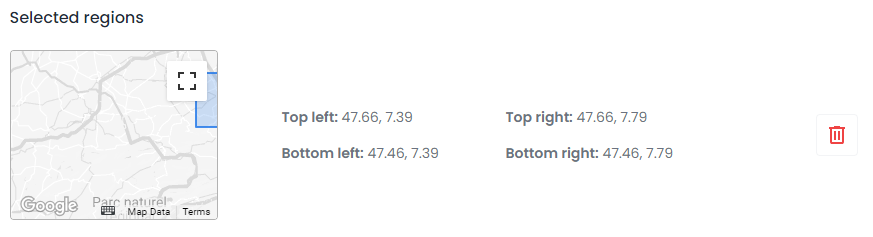
- Click "Add Region" to add each desired area to the selected regions list
- Specify multiple regions as needed
- Remove regions with the trash icon
If including/excluding users:
- Search for and select users/groups to include or exclude
- Remove users/groups from the selected list as needed using the trash icon
Click
Saveto complete the process and finalise the punchout mapping.
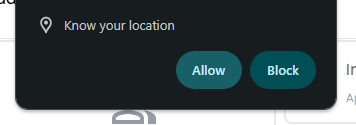
If you allow the platform to access your location in the browser then the map will initially default to that location.
Edit a Mapping
To edit a mapping, click on the appropriate row, or select the dropdown menu for that mapping and click Edit. After making your desired changes, click Save.
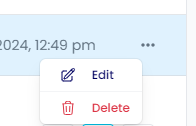

Delete a Mapping
To delete a mapping, select the dropdown menu for that mapping and click Delete.