Groups
Learn how to create and manage user groups to streamline role assignments and team access management.
Overview
User groups allow you to manage multiple users with similar roles and permissions efficiently. Instead of managing permissions for each user individually, you can assign roles and permissions to a group, and all members automatically inherit those privileges.
Key Benefits
- Simplified Role Management: Assign roles to multiple users at once
- Consistent Permission Assignment: Ensure users with similar roles have identical permissions
- Efficient Team Organization: Group users by department, function, or responsibility
- Streamlined Access Control: Modify permissions for entire teams with a single update
- Easy User Management: Onboard and manage team members efficiently at scale
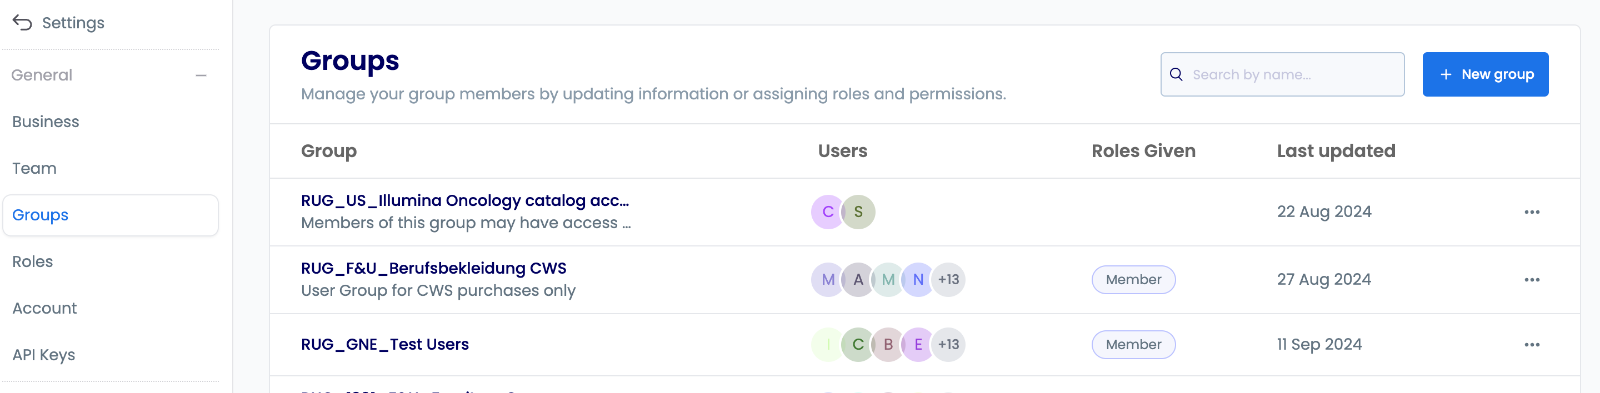
Accessing Groups
Groups are managed through the Team settings:
- Navigate to Settings → Team
- Open the Groups tab
- Access all group management functions from the dashboard
Creating Groups
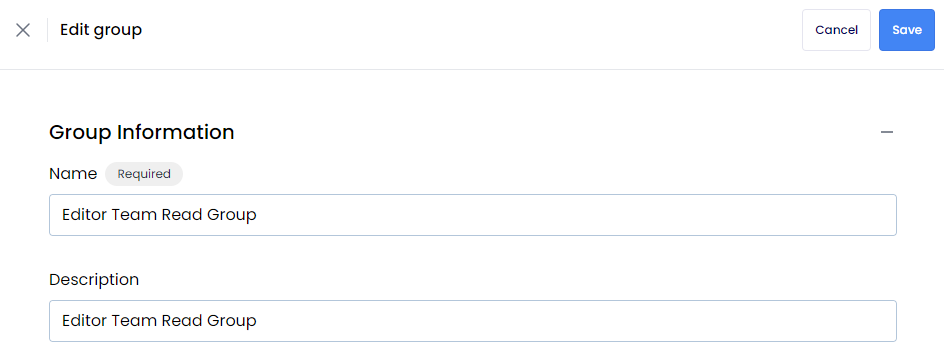
Initial Setup
- Click + New group to start creating a group
- Provide essential information:
- Name: Choose a descriptive name (e.g., "Regional Buyers")
- Description: Define the group's purpose and scope
Member Assignment
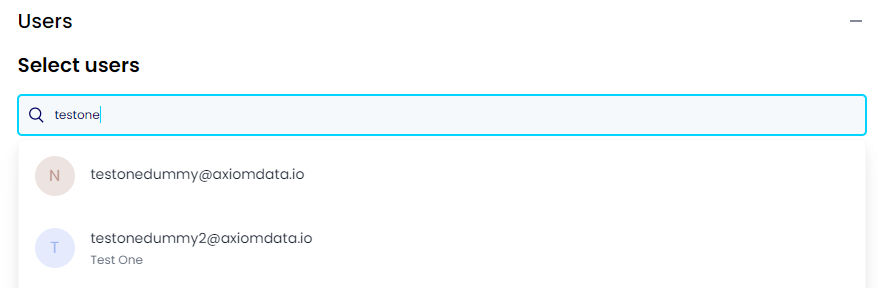
Search for Users
- Use the search functionality to find team members
- Filter by department or role if needed
Select Members
- Choose users who should be part of this group
- Consider their responsibilities and access needs
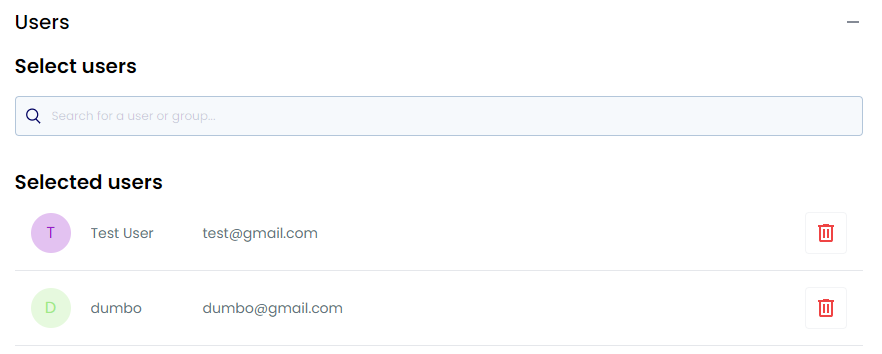
Managing Members
- Review selected members to ensure they align with the group's purpose
- Remove any members who don't belong in this group
- Add additional members as needed
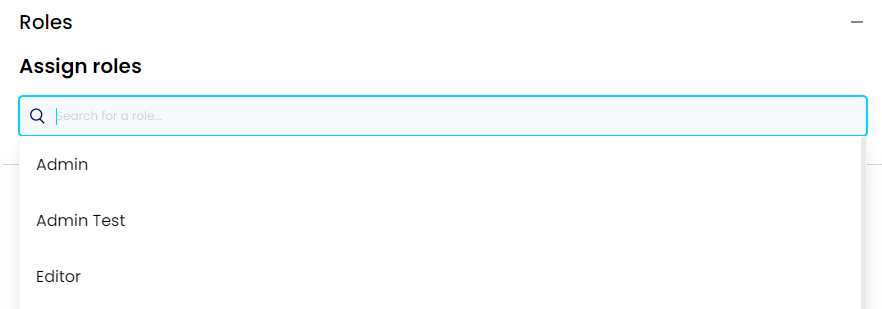
Role Assignment
Select Roles
- Choose roles that match the group's function
- Consider the security requirements for this group
Review Access
- Verify the permission combinations are appropriate
- Ensure users will have the right access levels
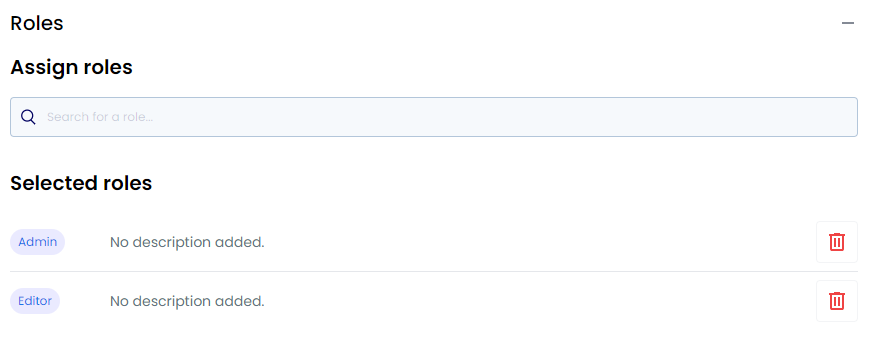
Role Management
- Review the selected roles to ensure they match the group's needs
- Remove any unnecessary permissions
- Verify the access levels are appropriate for the group's function
Finalizing Group Creation
Review Configuration
- Verify all settings are correct
- Check member assignments
- Confirm role selections
Save Group
- Click Save to create the group
- The group will be immediately available for use

Managing Existing Groups
Group Maintenance
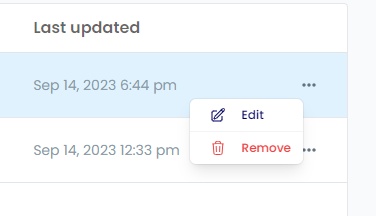
Editing Groups
- Update group configurations as needs change
- Modify member composition
- Adjust role assignments
Removing Groups
- Delete groups that are no longer needed
- Consolidate similar groups to reduce complexity
Adding Groups
- Create new groups as your organization grows
- Support new functional units or departments
Best Practices
- Use clear, descriptive names for groups
- Keep groups focused on specific functions or departments
- Match roles to group responsibilities
- Follow the principle of least privilege - only assign necessary permissions
- Review group memberships regularly
- Update roles and memberships as organizational needs change
Interactive Tutorial
Learn how to create and manage groups with this step-by-step tutorial. You'll see how to set up groups, add team members, assign roles, and implement the best practices covered in this guide.