Punchout Mappings (Sharing Settings)
Learn how to configure and manage supplier punchout identifiers to enable seamless integration between your procurement system and supplier catalogs while maintaining precise control over access and functionality.
Overview
Punchout mappings (sharing settings) enable procurement teams to define access rules and supplier identifiers, vendor number and contract numbers for different users, groups, or locations.
Key Features
- User-Specific Control: Tailored punchout identifiers for individual users
- Group Management: Efficient group-based catalog access
- Geographic Control: Location-based access rules
- ID Management: Flexible part auxiliary ID handling
- Catalog Settings: Precise catalog-specific configurations
Accessing Punchout Mappings
- Supplier Selection: Open Suppliers page
- Target Choice: Select specific supplier
- Settings Access: Navigate to Sharing Settings
- Configuration View: Review mapping table

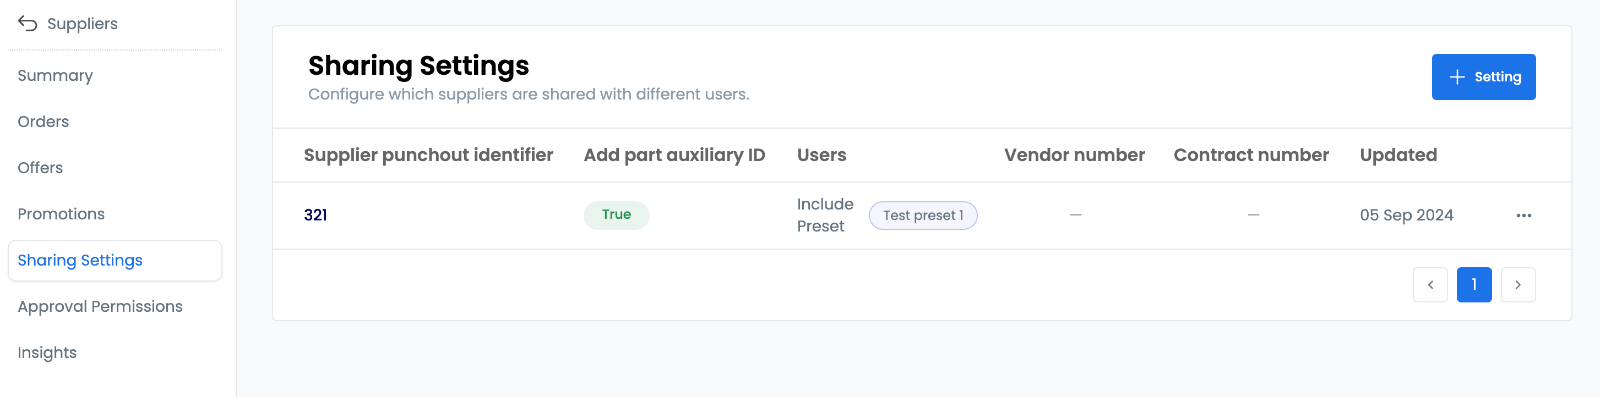
Settings Interface
The Sharing Settings page provides:
- Complete mapping overview
- Configuration options
- Management tools
- Status monitoring
Creating Punchout Mappings
Initiating Setup
- Start Process: Click "+ Setting"
- Access Interface: Enter configuration mode
- Prepare Settings: Gather required information

Basic Configuration
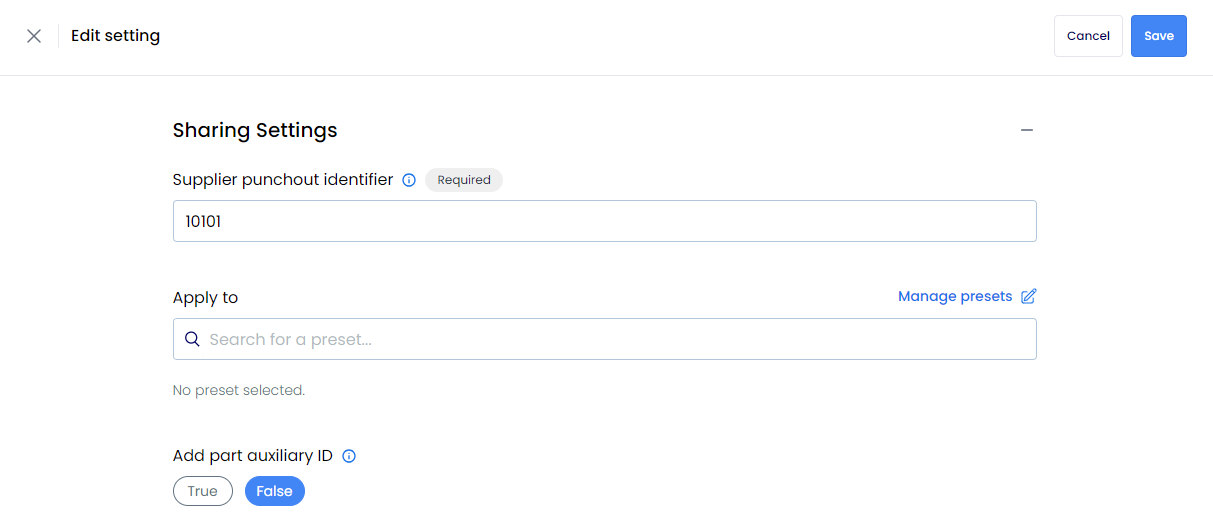
- Identifier Setup:
- Enter supplier punchout Identifier
- Configure unique identifiers
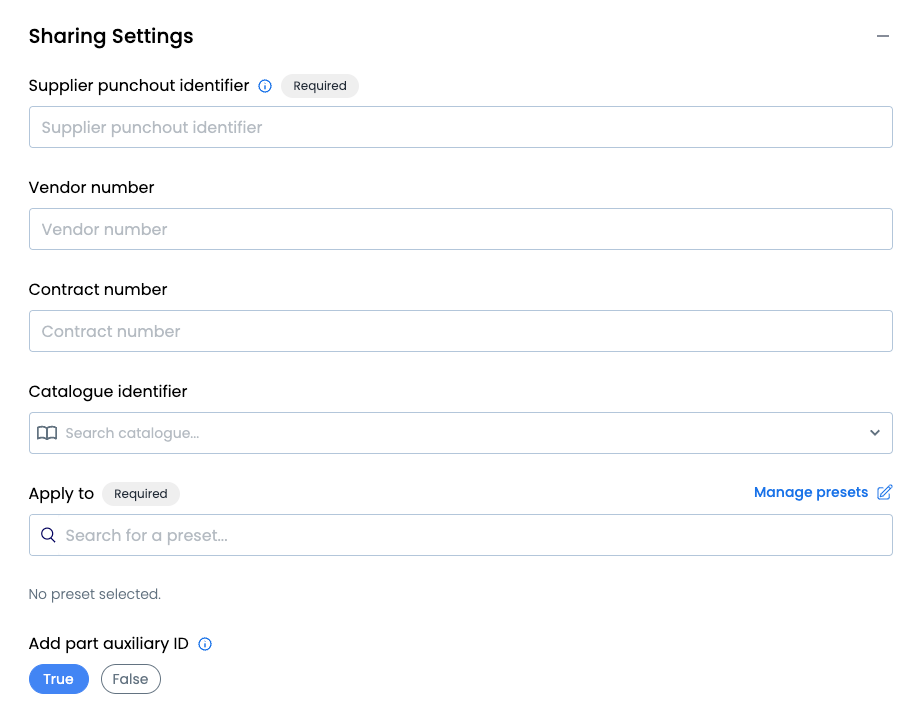
Catalog Integration
-
Identifier Selection:
- Choose catalog identifiers
- Set specific parameters
- Configure access rules
-
Settings Configuration:
- Customize catalog options
- Set display preferences
- Configure search parameters

TIP
Non-catalog prices use default mappings when no specific catalog identifier is set, ensuring comprehensive price management.
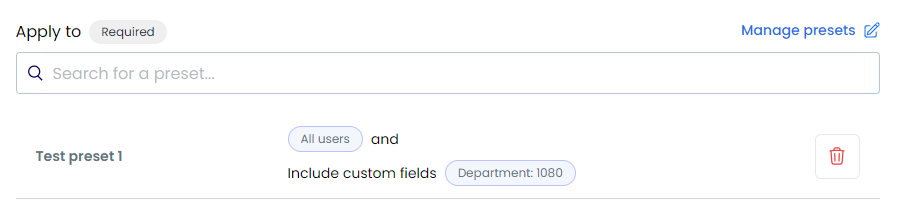
User Access Configuration
-
Preset Selection:
- Search available presets
- Select appropriate options
- Configure combinations
- Ensure proper coverage
-
Preset Management:
- Access management tools
- Create new configurations
- Update existing settings
- Maintain organization
Finalizing Configuration
-
Review Process:
- Check all settings
- Verify configurations
- Confirm parameters
-
Activation:
- Save configurations
- Test functionality
- Monitor performance

Location Settings
Enhance geographic functionality:
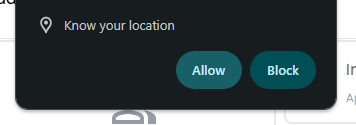
TIP
Enable location services in your browser for automatic map centering and improved geographic features.
Managing Existing Mappings
Editing Mappings
-
Access Settings:
- Select target mapping
- Choose edit option
- Review current setup
-
Update Process:
- Modify parameters
- Adjust configurations
- Verify changes
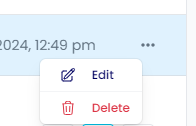
Removing Mappings
-
Removal Process:
- Access mapping menu
- Select deletion option
- Confirm action
-
Cleanup:
- Update related settings
- Verify removal effects
- Document changes
Best Practices
Configuration Tips
- Clear Naming: Use descriptive identifiers
- Logical Grouping: Organize similar patterns
- Documentation: Maintain clear records
- Regular Review: Schedule configuration checks
- Version Control: Track setting changes
Access Management
- Preset Organization: Maintain logical structure
- Testing Protocol: Verify new settings
- Access Monitoring: Track usage patterns
- Regular Updates: Maintain current configurations
- Security Checks: Verify access controls
Integration Optimization
- Performance Monitoring: Track system response
- Error Tracking: Document issues
- Solution Implementation: Address problems promptly
- Process Improvement: Optimize workflows
- Communication: Maintain supplier coordination
Interactive Tutorial
Configuring Punchout Mappings
A walkthrough of setting up and managing punchout mappings for seamless integration.
- Overview
- Key Features
- Accessing Punchout Mappings
- Settings Interface
- Creating Punchout Mappings
- Initiating Setup
- Basic Configuration
- Catalog Integration
- User Access Configuration
- Finalizing Configuration
- Location Settings
- Managing Existing Mappings
- Editing Mappings
- Removing Mappings
- Best Practices
- Configuration Tips
- Access Management
- Integration Optimization
- Interactive Tutorial
- Configuring Punchout Mappings