Begin here for onboarding to the platform and getting your products into stores.
Introduction
This page will walk you through onboarding to our platform and setting up your products for store listings. The following flowchart provides a step-by-step visual representation of our onboarding process.
Step 1: Account Setup
Signing Up for Axiom
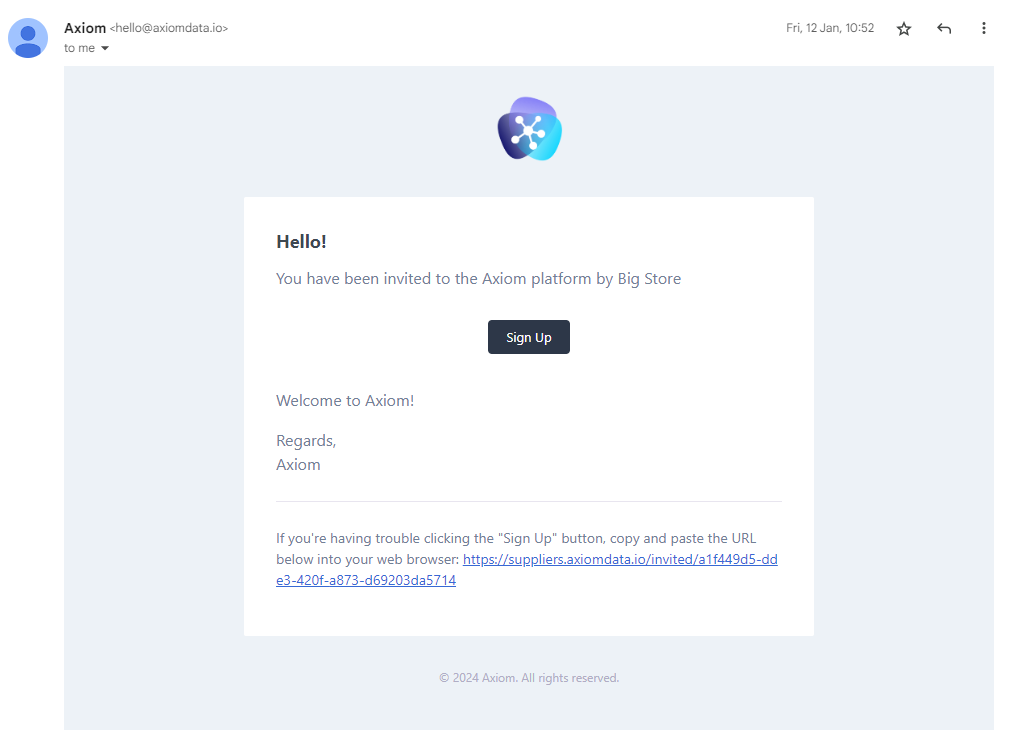
1. Once you have recieved an email invitation, click Sign Up to begin the onboarding process.
2. Create your account by entering/adjusting your name and choosing a password. You must agree to the terms and conditions before clicking Continue to proceed.
3. To finish account setup, adjust your language, country and currency as required and then click Continue.
Setup Account
Continue with the setup of your account by entering/adjusting your name and choosing a password. You must agree to the terms and conditions before clicking Continue to proceed.
Creating a Profile
1. Fill out your company details by entering your company name, company description, and providing a website URL (optional). You must also select the UNSPSC Segments for which you sell products in - this can be amended later.
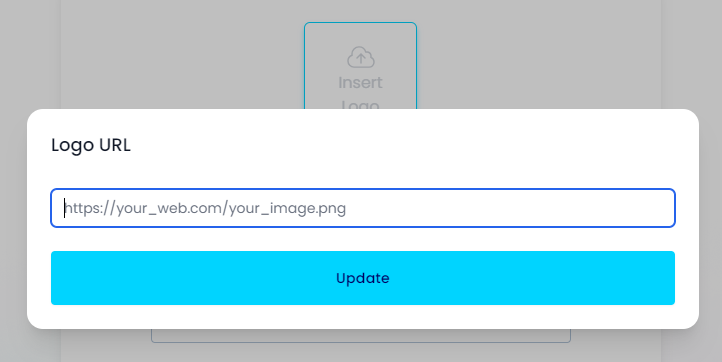
2. You can also insert an image to use as your logo. Click Insert Logo, enter the URL for the image to preview it, then click Update to insert it.
3. Click Continue to proceed.
Step 2: Team Invitation
Invite Team
You can invite team members here as part of the onboarding process, or click Skip and add them at a later point in time.
To invite a team member, enter an email address, select a role and click Add. Once you have added all required team members, click Continue to invite them.

Adding more members
To add more members after the initial setup:
1. Click your profile icon then select Settings or click the gear icon on the left-hand menu.
2. Click on the Team tab then click + New Member.
3. Add the name and email then click Invite Member.
The invited team member will receive an email invitation and will need to create an account to access the supplier page.
Step 3: Product Upload
Initial product upload
You can upload products here as part of the onboarding process using our provided templates, or click Skip and add them at a later point in time.
Click Products icon to download it. Once populated, click Click to Browse to locate the file, or drag and drop the file and click Upload.

Adding more products
1. Navigate to Products from the navigation menu, then click the Products tab.
2. Click Import then select Products CSV File.
3. You can download the template by clicking the Products icon: this includes fields required by Axiom. The required fields also highlighted on the right side of the page along with other supported fields.
*You can also use a file with your own field names which can then be mapped to Axiom fields later in the import process.
4. Once the file has been populated with the additional product information, click Click to Browse to locate the file, or drag and drop the file and click Continue.
5. If you used your own field names for the file, you may select which fields from your CSV match the corresponding Axiom fields. All of the required Axiom fields must be used before the import can proceed. Click Continue to proceed.
6. Review your data then click Continue to add your products
After uploading your products, you will be redirected to the File Imports page. This page will show you the status of your upload as well as previous import attempts. Once your import has completed, you will receive a notification both in the platform and via email informing you of any errors with your product data. The notification will include the count of successfully imported products, the number of errors encountered, as well as a link to the error file. If you require further assistance, feel free to forward the error file to support@axiomdata.io.
Deleting a Product
In case you need to delete a product:
1. Navigate to Products from the navigation menu, then click the File Imports tab.
2. Click Delete then select Products CSV File.
3. You can download the template by clicking the Products Template icon. This includes the two columns required by Axiom for deleting/archiving: command and product_identifier. The remaining fields do not need to be populated.
4. Once the file has been populated, click Click to Browse to locate the file, or drag and drop the file and click Continue.
Step 4: Store Connection
Initial store connection
You can request to join stores as part of the onboarding process or click Skip to do so at a later point in time.
Click Finish to complete onboarding, you will be redirected to the platform landing page.
Connecting to more stores
1. Navigate to Stores from the navigation menu.
2. In the Available tab, you can see the available stores you can request access to and stores that you've requested access to and are pending for approval. Click Request to Join to send a request to the store. In the Connected tab, you can view stores that you are already connected to.
*An approval from the store operator is needed to be permitted to the store.
Step 5: Price Upload
With your onboarding complete, you can now add price lists for your products.
Importing Price List
1. Navigate to the File Imports tab on the products page.
2. Select Import, then select Prices CSV file.
3. You can download the template by clicking the Price Template icon: this includes the fields required by Axiom. The required fields are also highlighted on the right side of the page along with other supported fields. Make sure that the store_id column is populated with the appropriate Store ID. To find the Store ID for a particular store, search for the store on the Stores page.
4. Once the file has been populated with the price list information, click Click to Browse to locate the file, or drag and drop the file and click Continue.
Once your import has completed, you will receive a notification both in the platform and via email informing you of any errors with your price list.
- Step 1: Account Setup
- Signing Up for Axiom
- Setup Account
- Creating a Profile
- Step 2: Team Invitation
- Invite Team
- Adding more members
- Step 3: Product Upload
- Initial product upload
- Adding more products
- Deleting a Product
- Step 4: Store Connection
- Initial store connection
- Connecting to more stores
- Step 5: Price Upload
- Importing Price List