Material Types
Learn how to create and manage customizable templates that define the structure, properties, and validation rules for different categories of materials.
Overview
Material Types (also known as Material Forms) provide templates that help standardize how you collect and manage information about different categories of materials. This structured approach ensures:
- Consistent information collection across similar materials
- Data validation to prevent errors
- Efficient addition of new materials
- Organized material categorization
- Customized fields for specific needs
Key Features
- Customizable Templates: Define specific information requirements for each material category
- Field Configuration: Choose from multiple field types with validation rules
- Required Fields: Specify which information must be provided
- Flexible Forms: Add custom fields based on material needs
- Data Validation: Ensure accurate and complete information
Field Types Available
Basic Types
- Text: For general text input
- Number: For numerical values
- Date: For date values
- Checkbox: For yes/no options
Advanced Types
- Select/Multi-Select: For choosing from predefined options
- URL: For web addresses
- Phone/Email: For contact information
- Rating/Scale: For evaluations and measurements
- Files: For document attachments
- Signature: For approvals
Benefits
Data Quality
- Ensure consistent information collection
- Validate data as it's entered
- Prevent missing critical information
- Maintain standardized formats
- Enable accurate reporting
Operational Efficiency
- Streamline material creation
- Simplify data entry
- Reduce errors and rework
- Enable bulk operations
- Support quick filtering
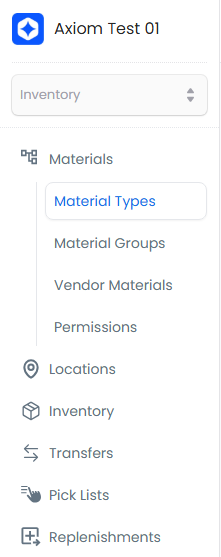
To access material types, navigate to the Inventory section from the landing page by selecting 'Inventory' from the dropdown menu in the top left corner.
Creating Material Types
Follow these steps to create a new material type:
- Select Material Types from the Inventory section menu:
- Click the + New Type button to start creating a new material type:

- Enter a name for your material type in the dialog box, then click + Continue to proceed:

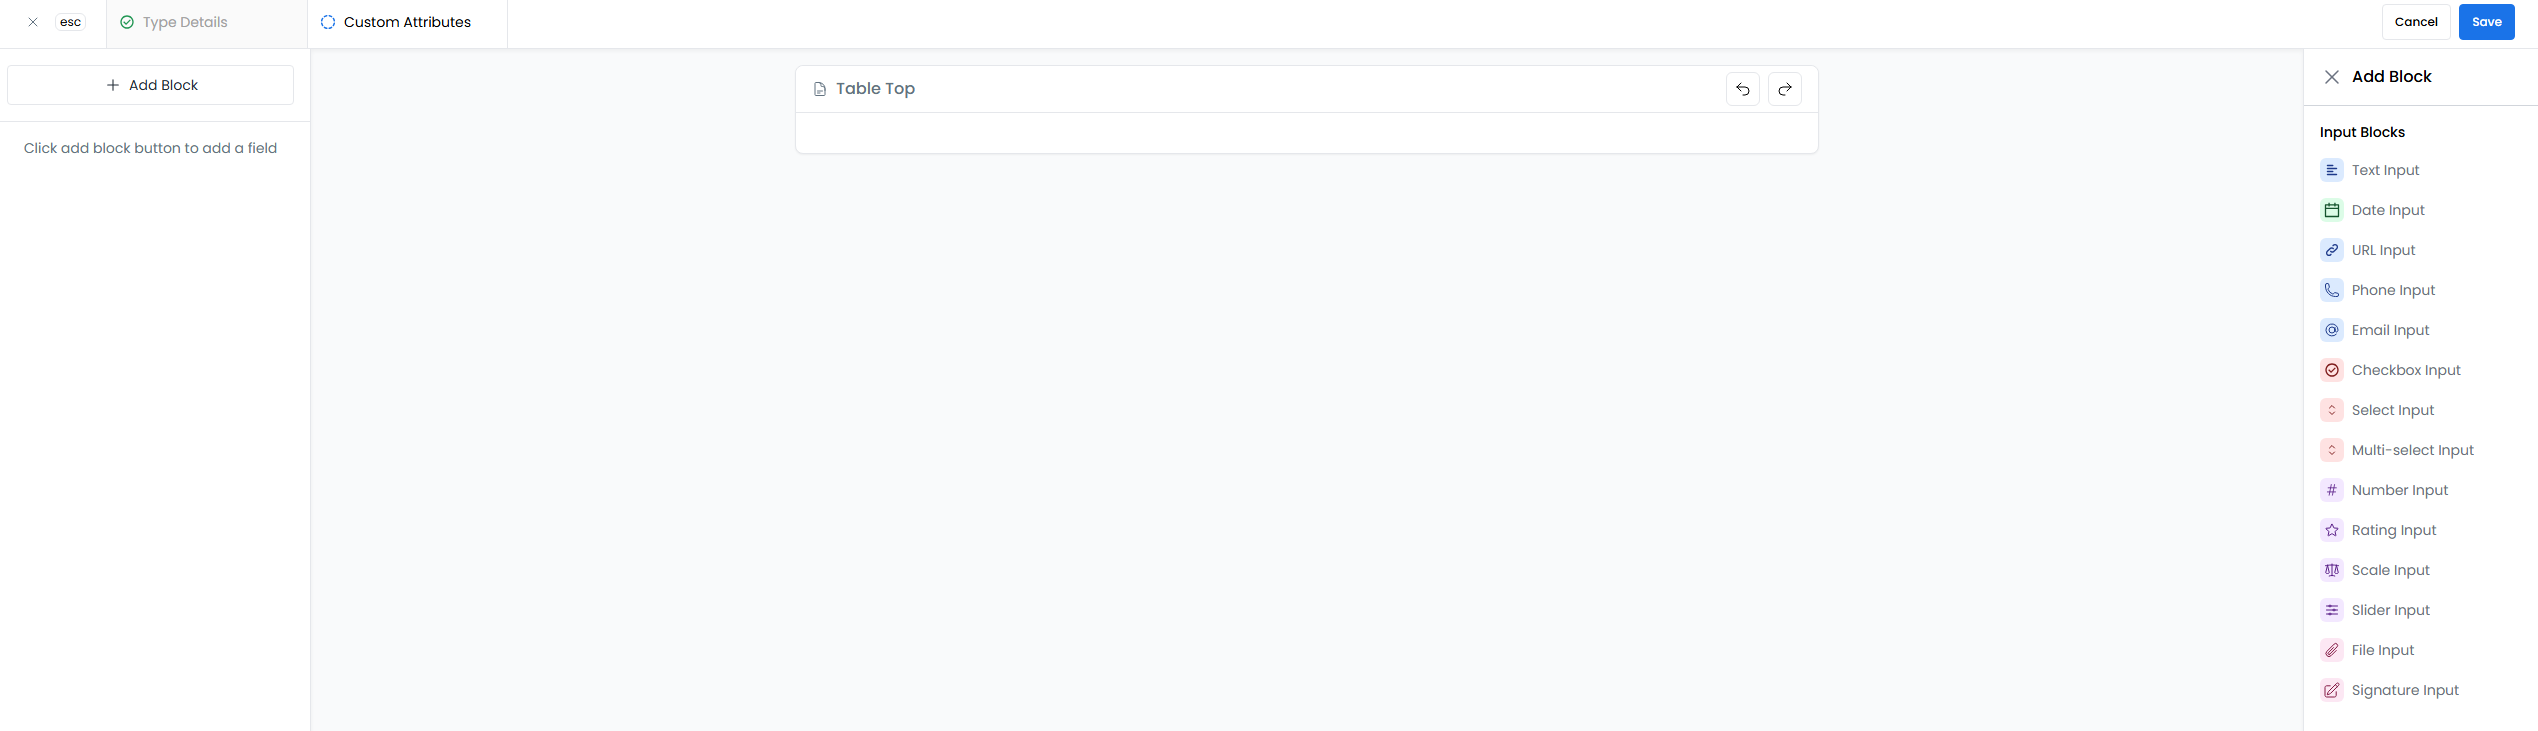
- Add input blocks by navigating to the right side of the page and selecting the type of input block you want to add (such as text field, dropdown, etc.):
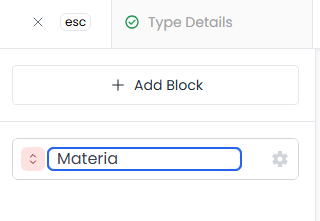
- Name your input block by clicking on it and entering a descriptive name for the field:
The input block will appear in the form preview on the left side:
Configuring Input Block Properties
You can configure your input blocks using four different property options:
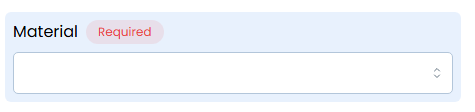
1. Required Fields
To make a field required, you can either:
- Hover over the input block in the left preview pane and select the required option
- Check the "Required" box in the right configuration pane
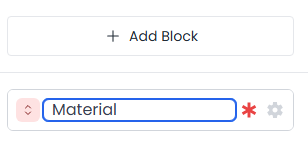
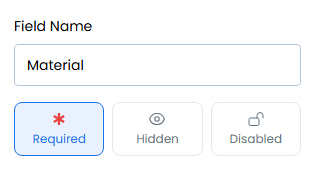
When enabled, a red asterisk (*) appears next to the field name to indicate it's required:
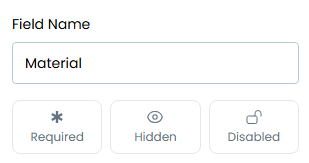
2. Additional Property Options
You can also configure these properties using the right configuration pane:
- Disabled: Prevents users from interacting with the field
- Hidden: Hides the field from the form
- Default: Leave unchecked for normal field behavior
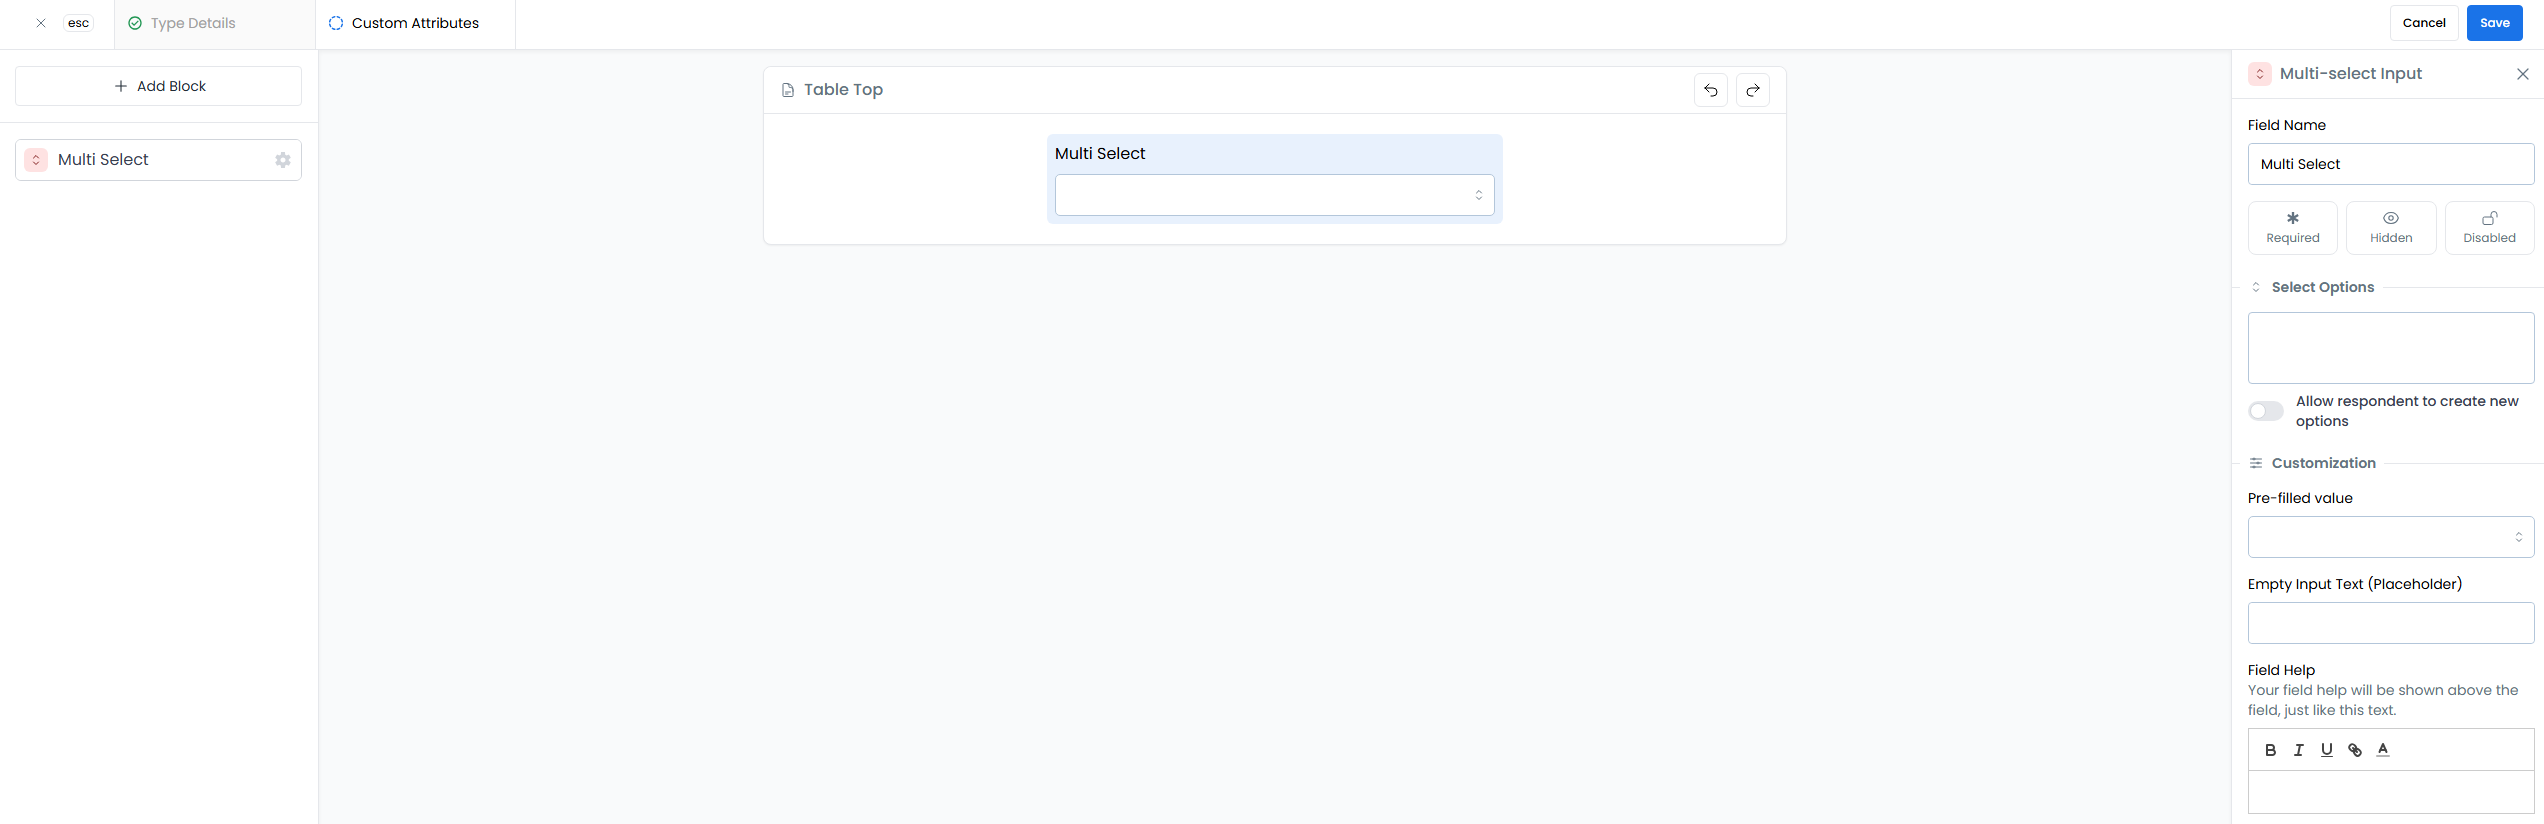
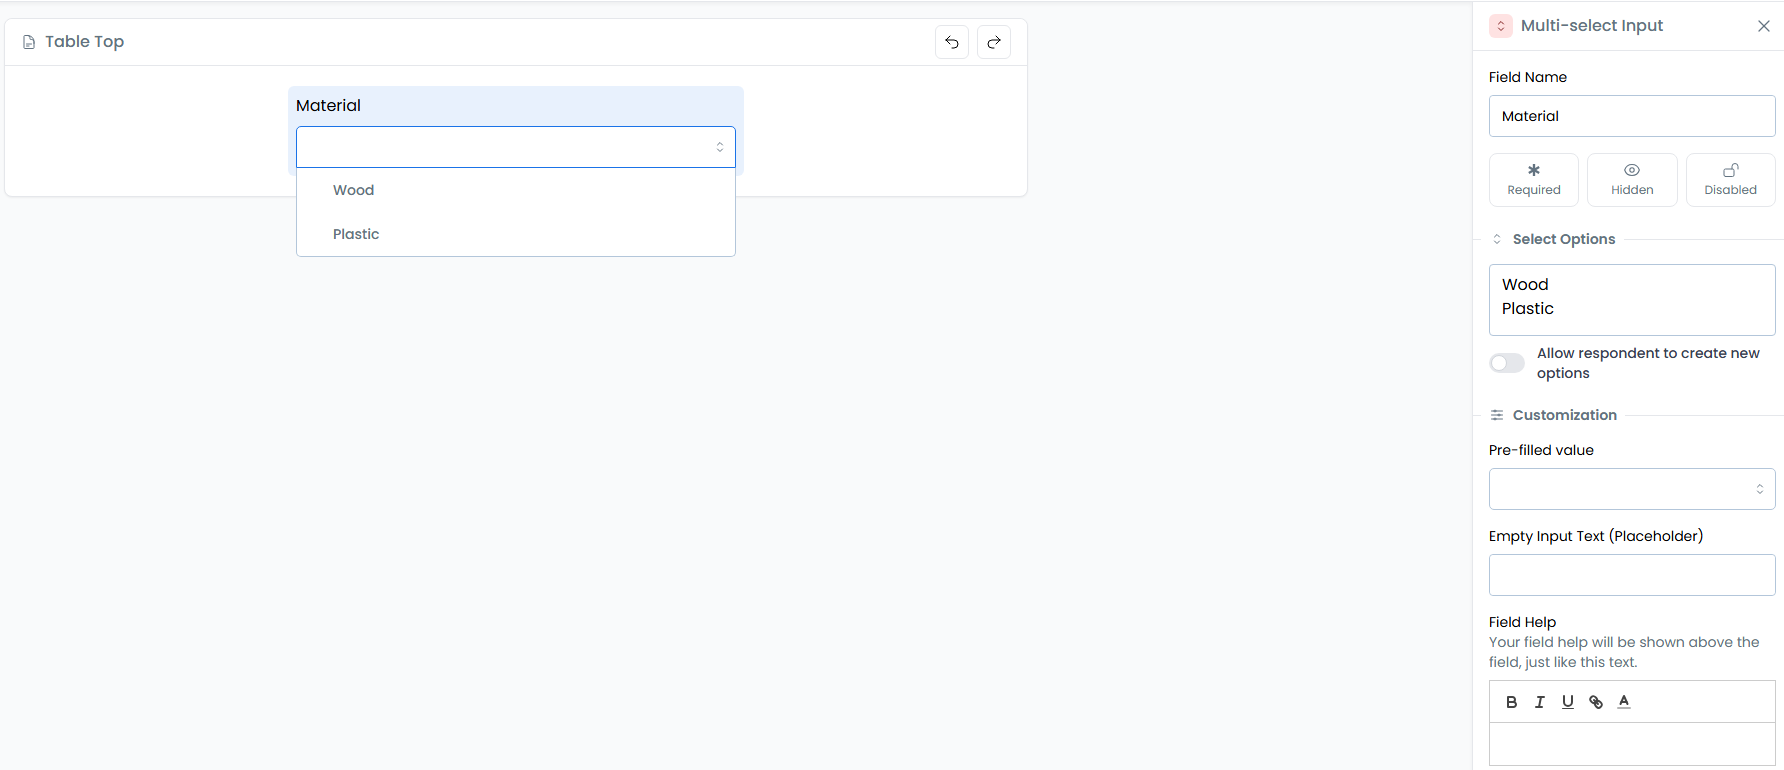
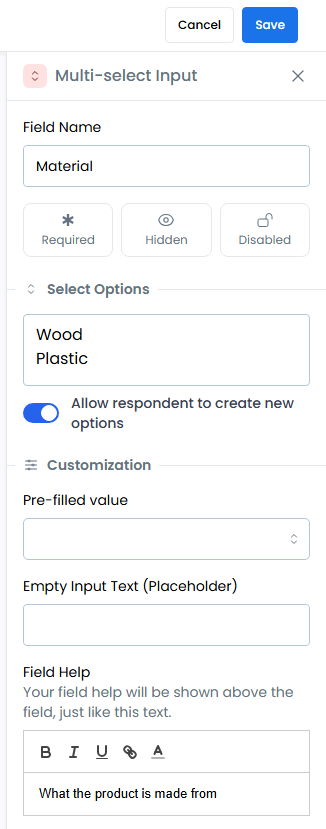
Configuring Multi-Select Dropdown Options
For multi-select dropdown fields, you have two options for managing the available choices:
Option 1: Pre-defined list - Enter specific options in the "Select Options" box:
Option 2: User-generated options - Toggle "Allow respondents to add options by typing" to let users create their own options:

The configuration options panel shows both settings available for customization:

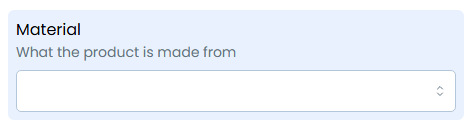
Adding Field Help and Descriptions
- Add helpful descriptions by expanding the "Field Help" section to provide additional context or instructions for users:

The help text will appear below the field to guide users:
Saving Your Material Type
- Review your configuration and click + Save to create the new material type:
Example Templates
Office Supplies Template
- Basic Fields:
- Name (Text, Required)
- Description (Text)
- Unit of Measure (Select, Required)
- Custom Fields:
- Supplier (Text)
- Reorder Level (Number)
- Storage Location (Select)
- Eco-Friendly (Checkbox)
Electronic Components Template
- Basic Fields:
- Name (Text, Required)
- Description (Text)
- Unit of Measure (Select, Required)
- Custom Fields:
- Manufacturer (Text)
- Part Number (Text)
- Voltage Rating (Number)
- Datasheet (URL)
- Technical Specs (Text)
- Compatible With (Multi-Select)
Chemical Products Template
- Basic Fields:
- Name (Text, Required)
- Description (Text)
- Unit of Measure (Select, Required)
- Custom Fields:
- Chemical Formula (Text)
- Hazard Level (Select)
- MSDS Document (File)
- Storage Temperature (Number)
- Expiration Date (Date)
- Handling Instructions (Text)
Best Practices
Template Design
- Start with essential fields and add more as needed
- Group similar materials under common templates
- Use clear, descriptive field names
- Consider reporting needs when adding fields
- Standardize units for measurement fields
Field Configuration
- Make critical information required
- Provide clear field descriptions
- Set appropriate validation rules
- Order fields logically
- Use consistent field types
Template Management
- Test templates before publishing
- Review and update periodically
- Document template purposes
- Train users on proper usage
- Archive obsolete templates
Data Entry Guidelines
- Use standardized formats
- Follow naming conventions
- Complete all relevant fields
- Validate information accuracy
- Include supporting documentation
When updating a material type, remember that changes will affect all materials already using that type. Consider the impact on existing materials before making significant changes to the template.
- Overview
- Key Features
- Field Types Available
- Basic Types
- Advanced Types
- Benefits
- Data Quality
- Operational Efficiency
- Creating Material Types
- Configuring Input Block Properties
- 1. Required Fields
- 2. Additional Property Options
- Configuring Multi-Select Dropdown Options
- Adding Field Help and Descriptions
- Saving Your Material Type
- Example Templates
- Office Supplies Template
- Electronic Components Template
- Chemical Products Template
- Best Practices
- Template Design
- Field Configuration
- Template Management
- Data Entry Guidelines