Pick Lists
Learn how to create and manage digital task lists that guide warehouse workers through efficient inventory collection and movement operations.
Overview
Pick Lists are organized task lists that help warehouse workers efficiently collect and move inventory items. They provide:
- Clear instructions for item collection
- Efficient movement planning
- Progress tracking
- Task assignment management
- Activity recording
- Priority handling
Key Features
- Task Organization: Group related movements for efficiency
- Progress Tracking: Monitor completion status in real-time
- Worker Assignment: Delegate tasks to specific staff
- Priority Management: Handle urgent moves first
- Activity Recording: Maintain detailed movement history
Pick List Status Flow
Overall Status
- Pending: Created but not started
- In Progress: Active picking/placing
- Completed: All items processed
- Cancelled: List discontinued
Item Status
- Pending: Awaiting pickup
- Picking: Partial collection
- Picked: Fully collected
- Placing: Being delivered
- Placed: Successfully moved
- Skipped: Unable to process
Creating a Pick List
-
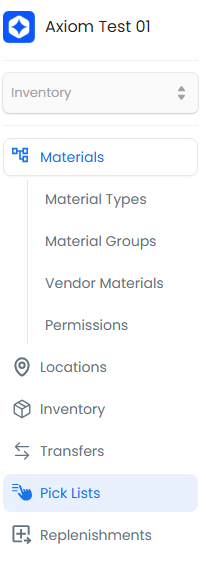
Access pick lists:
- Click "Inventory" on the landing page
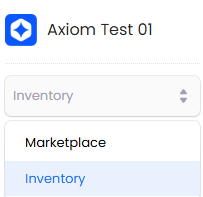
- Select "Pick Lists" from sidebar
-
Start new pick list:
- Click "+ New Picklist"

-
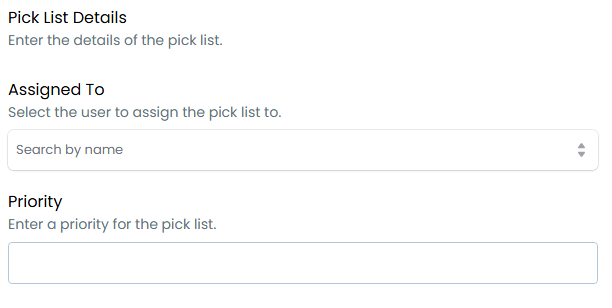
Enter basic details:
Required Fields
Field Input Type Description Assigned to Search dropdown Select the worker responsible for completing the pick list Priority Manual input Set urgency level to help workers prioritize their tasks Field Guidelines
Assigned to:
- Choose workers with appropriate permissions
- Consider workload distribution
- Match tasks to worker skills
- Avoid duplicate assignments
- Update as needed for coverage
Priority:
- Use consistent priority levels
- Consider deadlines and urgency
- Balance workload across teams
- Update as circumstances change
- Document priority criteria
-
Add items: Note: Transfer items must exist before they can be added
Required Fields
Field Input Type Description Transfer Item ID Search dropdown Select the specific inventory item to be moved Quantity to Pick Manual input Specify the amount of material to collect Field Guidelines
Transfer Item ID:
- Verify item availability first
- Check source location access
- Confirm destination capacity
- Review item restrictions
- Note special handling needs
Quantity to Pick:
- Stay within available stock
- Consider batch quantities
- Account for minimum picks
- Check weight/volume limits
- Plan for partial picks

-
Complete the list:
- Click "+ Add" for more items
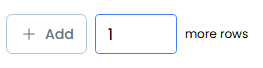
- Click "Save" to finish

The pick list will appear on the landing page with a status of "Pending", "In Progress", or "Completed".
Best Practices
Planning Your Work
- Check item sequence for efficiency
- Review priorities and deadlines
- Verify worker assignments
- Confirm item availability
- Plan for special handling
While Working
- Follow the item sequence
- Document any issues
- Handle problems promptly
- Work at a steady pace
- Keep records current
Quality Control
- Double-check quantities
- Verify item locations
- Fix mistakes immediately
- Document any issues
- Follow up on skips
Common Issues
- Not enough stock: System prevents over-picking
- Damaged items: Use skip function
- Wrong location: Undo and correct
- Quantity mismatch: Verify and adjust
- Access issues: Check permissions
When creating pick lists, organize items in a logical sequence that minimizes walking distance and maximizes picking efficiency. Consider item locations, weights, and any special handling requirements when planning the sequence.