Carts and Checkout
Master the cart and checkout system with this step-by-step guide. Learn how to add products, manage quantities, create multiple carts, and complete your purchases efficiently.
Adding Products to Your Cart
Adding products to your cart is simple and intuitive. Follow these steps to build your shopping list:
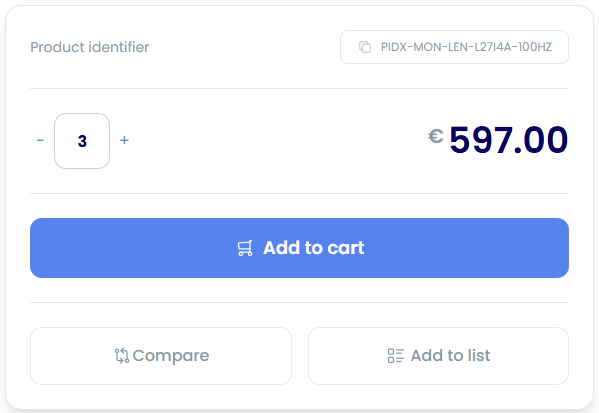
Step 1: Choose Your Quantity Select the desired quantity using the quantity selector on the product page. You can increase or decrease the amount using the plus (+) and minus (-) buttons, or type the number directly.
Step 2: Add to Cart Click the 'Add to cart' button to add the item to your shopping cart. The button will be clearly visible on the product page.
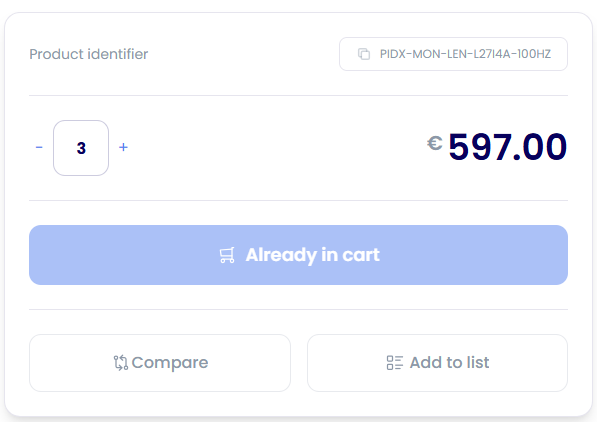
Step 3: Confirmation Once added, the button will change to 'Already in cart' to confirm the item has been successfully added to your cart. This prevents accidental duplicate additions.
Viewing Your Cart
Your cart is easily accessible from anywhere on the website. Here's how to view and manage your items:
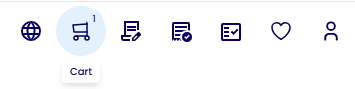
Step 1: Access Your Cart Click on the basket icon located in the top right corner of the website. The icon will show the number of items currently in your cart.
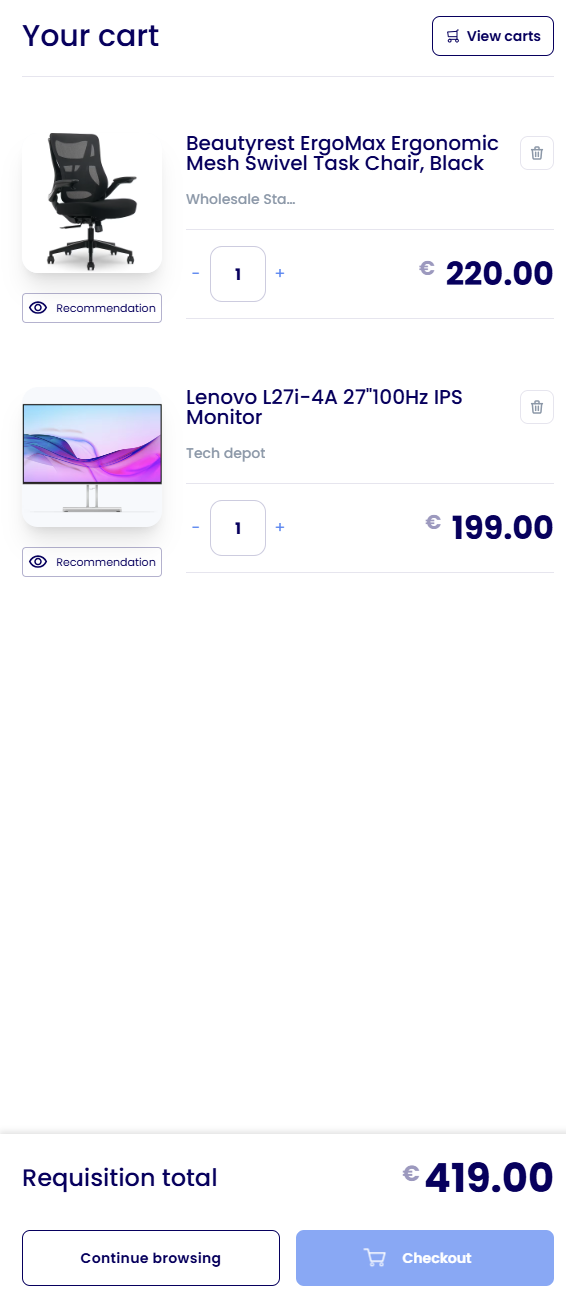
Step 2: Manage Your Cart Items The cart window provides several options for managing your items:
- Edit quantities: Adjust the number of items using the quantity controls
- Remove items: Delete products you no longer want
- Continue shopping: Keep browsing for more products
- Proceed to checkout: Complete your purchase
- View all carts: Access your cart management system
Managing Multiple Carts
The system allows you to create and manage multiple shopping carts, making it easy to organize different purchases or projects.
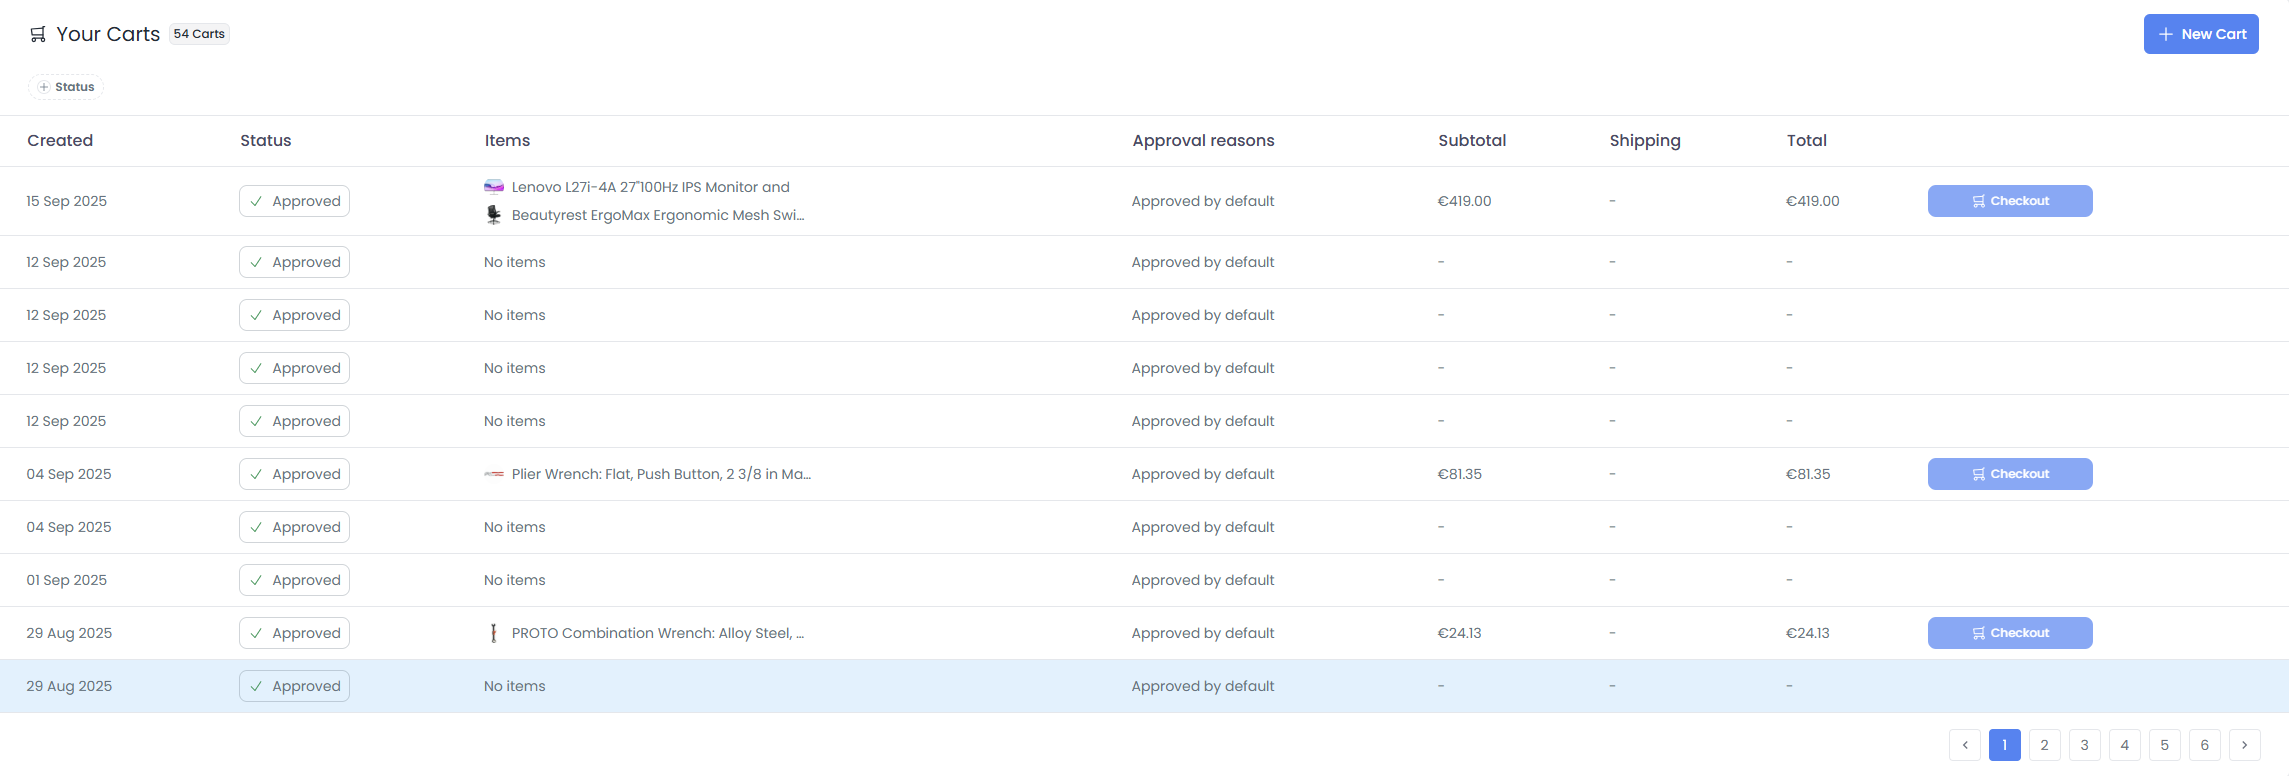
Step 1: Access Cart Management Click the 'View carts' button from the cart window to access the "Your Carts" page. This comprehensive view shows your complete cart history and provides filtering options.
Cart Status Filters:
- Approved: Carts that have been approved for purchase
- Completed: Carts with completed orders
- Rejected: Carts that were rejected during approval
- Approval requested: Carts pending approval
- Requires approval: Carts that need approval before checkout
Step 2: Switch Between Carts You can select any existing cart from the list to switch to it and add products. This allows you to work with multiple carts simultaneously or return to previous carts.
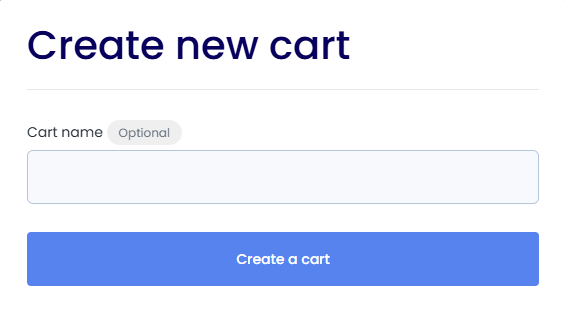
Step 3: Create New Carts Click the 'Create new cart' button to start a fresh cart. You can optionally give it a descriptive name to help you identify it later.
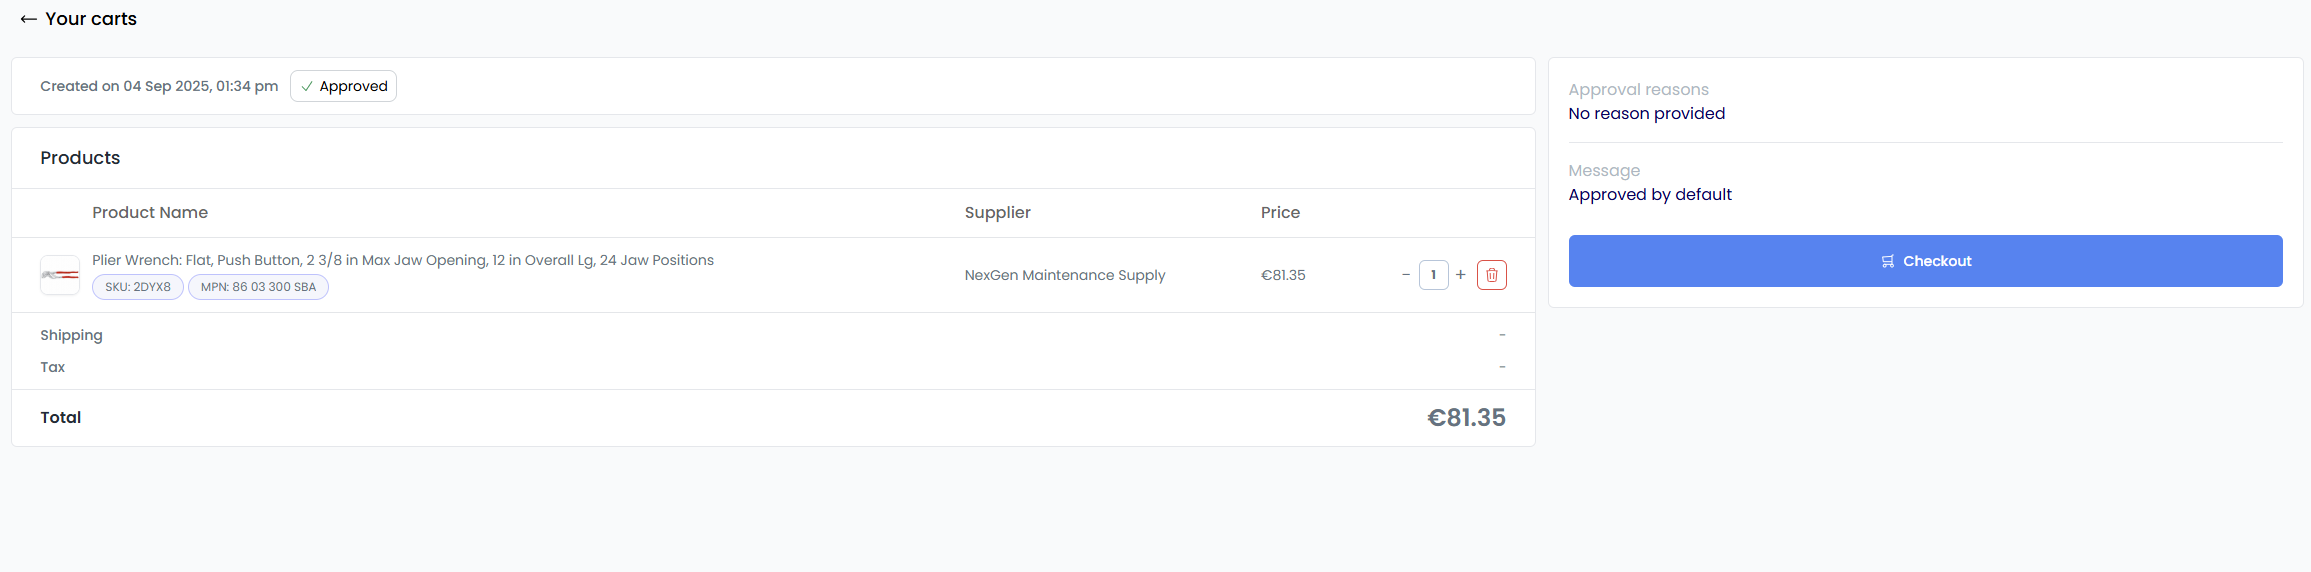
Step 4: Detailed Cart Management Clicking on any cart opens a detailed view where you can:
- Modify quantities: Adjust the number of items in the cart
- Remove products: Delete items you no longer need
- Set shipping details: Configure specific shipping requirements
- Add more items: Continue shopping and adding products
Completing Your Purchase
The checkout process is straightforward and secure. Follow these steps to complete your order:
Step 1: Initiate Checkout When you're ready to purchase, click the 'Checkout' button from either the cart window or the detailed cart view. This will begin the checkout process.
Step 2: Review and Complete Follow the checkout process, which typically includes:
- Reviewing your order details
- Confirming quantities and pricing
Step 3: Order Confirmation After completing the checkout process, you will be redirected back to your source to pay or ERP system.
Congratulations! You have successfully mastered the cart and checkout system. You can now efficiently manage multiple carts, add products, and complete purchases with confidence.